
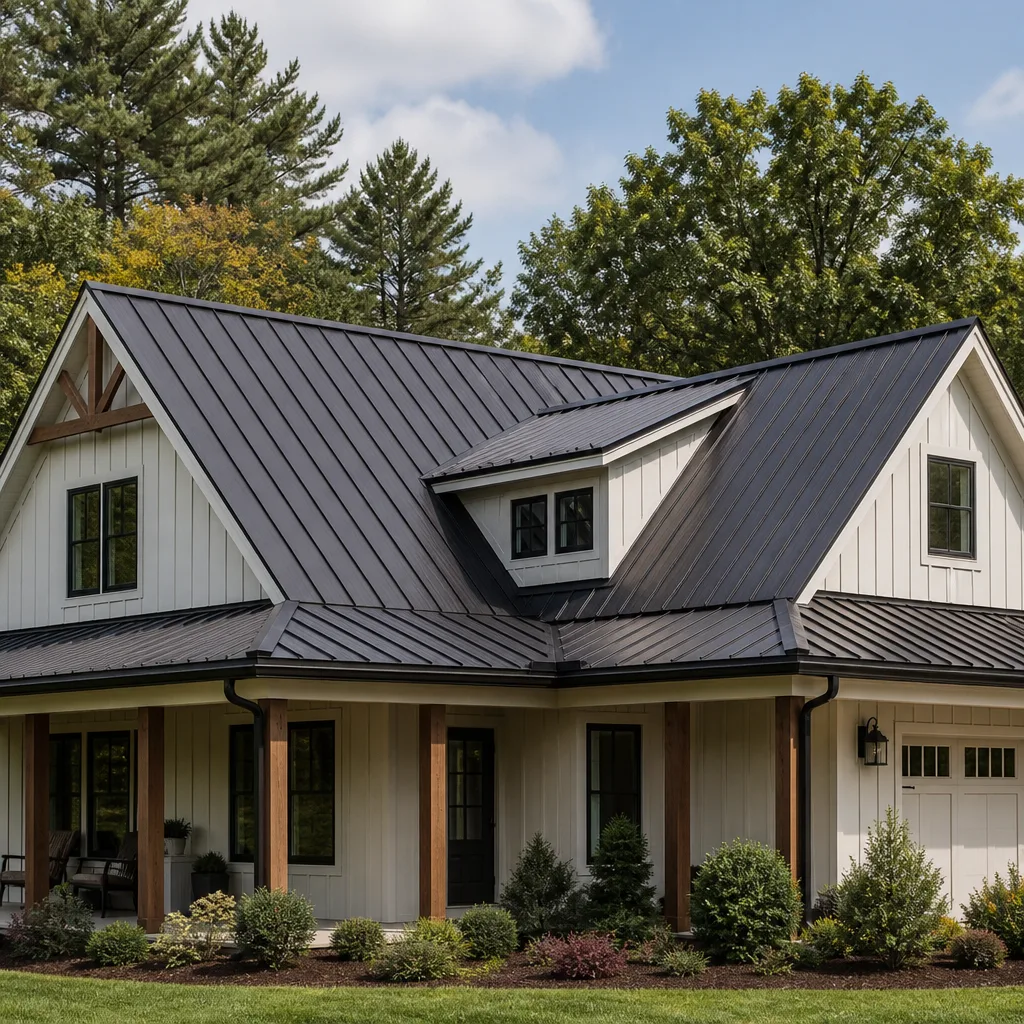
 Metal roofing
 Architectural shingles
 Tile roofing
 GAF
GAF Owens Corning
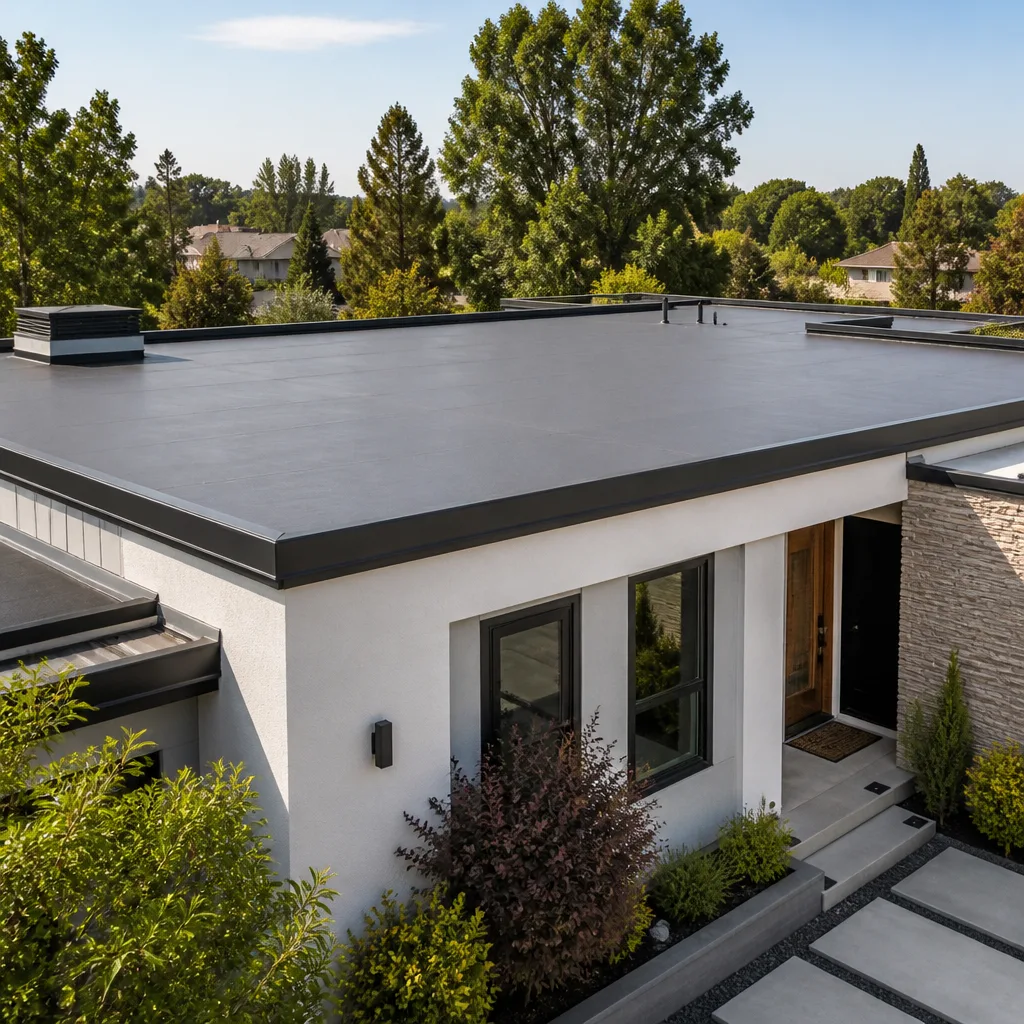 Flat & low-slope
Free roof inspection with deck photos before we talk money - GAF and Owens Corning certified installation
Tamko Flashing Replacement: The Tampa Owner’s Guide
Replacing failed Tamko flashing in Tampa typically runs $275 to $520 per penetration point when done by a licensed roofer, and we stock Tamko-compatible flashing on our trucks for same-week service calls. Flashing is the first thing to fail on a Florida roof, usually long before the shingles give out, because it takes direct sun, standing water, and wind-driven rain at every joint and seam. Most homeowners discover the problem the same way: a brown stain on the ceiling, a musty smell in the attic, or granules washing down the gutter after a hard Tampa afternoon thunderstorm.
We install flashing replacement on Tamko shingle systems across Tampa, and we do it under a written price you see before any work starts. Brennan Roofing Co Tampa is an independent roofing contractor, not affiliated with Tamko Building Products, but we install their flashing components daily and know which part fits which model line without guessing.
The frustrating part of failed flashing is how invisible it is. You can’t see it from the ground. You rarely see it from the roof until you’re right on top of it. By the time water is showing up inside, the flashing has usually been failing for months. That’s why we don’t patch over compromised metal on a Tamko system. We pull it, inspect the decking underneath, and replace the flashing with the right profile for the penetration it’s protecting.
Which Tamko Models This Applies To
Tamko flashing componentry crosses multiple shingle lines, including Heritage, Heritage Vintage, Heritage Woodgate, Titan XT, and StormShield. The flashing itself isn’t shingle-specific in most cases, but the installation method changes depending on whether the roof has Tamko’s standard architectural shingles or the heavier laminated lines with thicker exposure. Thicker shingles require wider step flashing and a slightly different counterflashing approach so the shingles don’t bridge and create a water channel.
The fastest way to confirm what you have is to check the shingle wrapper in the garage or attic. Tamko prints the product line name and the color code on every bundle. If the wrapper is gone, a roofer can identify the product by the shingle’s profile and measurement. For flashing replacement specifically, what matters more than the shingle line is what the flashing is protecting: pipe boots, chimneys, skylights, walls, or valley intersections. Each one takes a different flashing profile.
On the OEM versus aftermarket question: Tamko manufactures its own accessory line, but many of the metal flashing profiles on a Tamko roof are commodity items that reputable manufacturers like GAF, Owens Corning, or CertainTeed supply in equal or heavier gauge. The real difference is in the installer. A properly lapped 24-gauge galvanized step flashing from any major manufacturer outperforms a thin OEM piece installed wrong. We stock OEM Tamko accessories and quality aftermarket equivalents, and we’ll tell you plainly which one we’re using and why before we cut anything.
Styles & brands we work with
Signs Your Tamko Flashing Replacement Is Failing
- Ceiling stains below a vent, chimney, or wall intersection. Water follows the path of least resistance, and failed flashing leaks tend to show up inside directly below the penetration point. If the stain is below a bathroom vent or kitchen stack, flashing is the prime suspect.
- Rusted or corroded flashing metal visible at roof penetrations. Tampa’s salt air and summer humidity chew through thin flashing. If you can see rust blooming around a pipe boot or a wall line, the metal is near the end of its life even if it hasn’t leaked yet.
- Lifted or separated flashing at roof-to-wall intersections. Thermal expansion and contraction in Tampa, where we swing from 95-degree afternoons to 60-degree winter nights, works metal loose over time. Gaps appear between the flashing and the wall or between step flashing courses.
- Granules in the gutter concentrated below a flashing point. When water gets under a shingle near flashing, it accelerates granule loss and you’ll see heavier granule wash below that spot than anywhere else on the roofline.
- Damp insulation or dark streaks on attic sheathing near penetrations. By the time a leak shows in the ceiling, it’s been running through the attic for a while. Attic evidence tells you the exact source before the drywall shows anything.
Each of these symptoms has a cause: cracked sealant, nail pops that broke the metal, wind damage from a named storm, or simply age. In Tampa’s climate, a flashing detail that looks fine at six years can be done at twelve. UV exposure breaks down the sealant. Heat cycles fatigue the metal. The failure is predictable, so the fix is straightforward.
See the difference
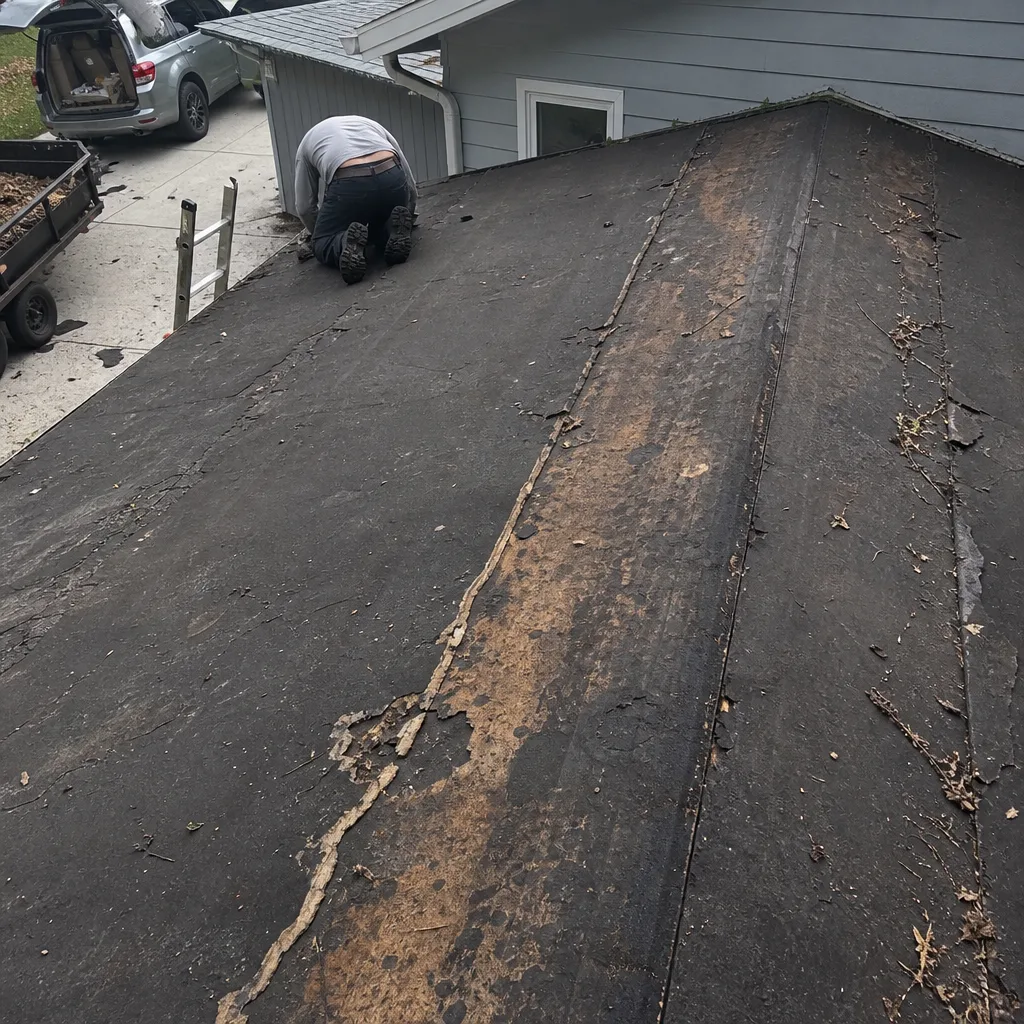 Before
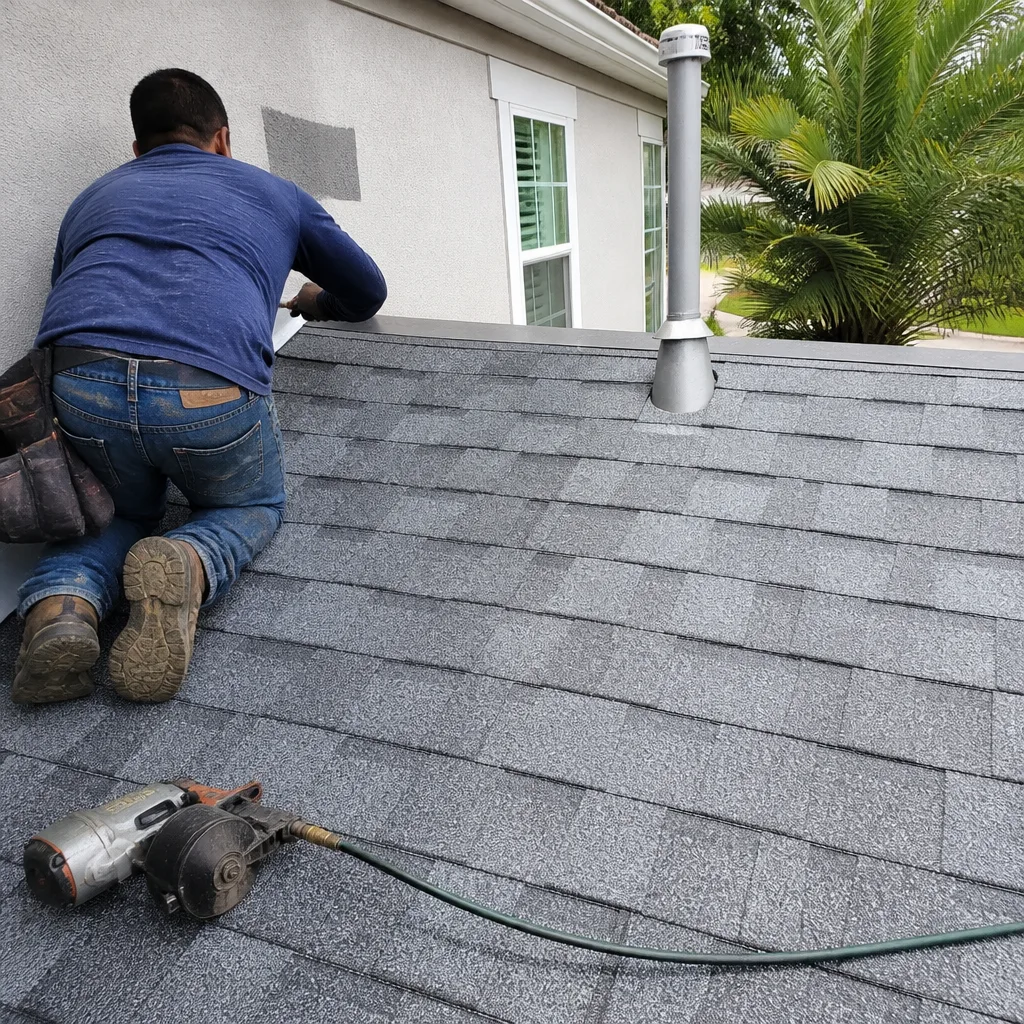 After
After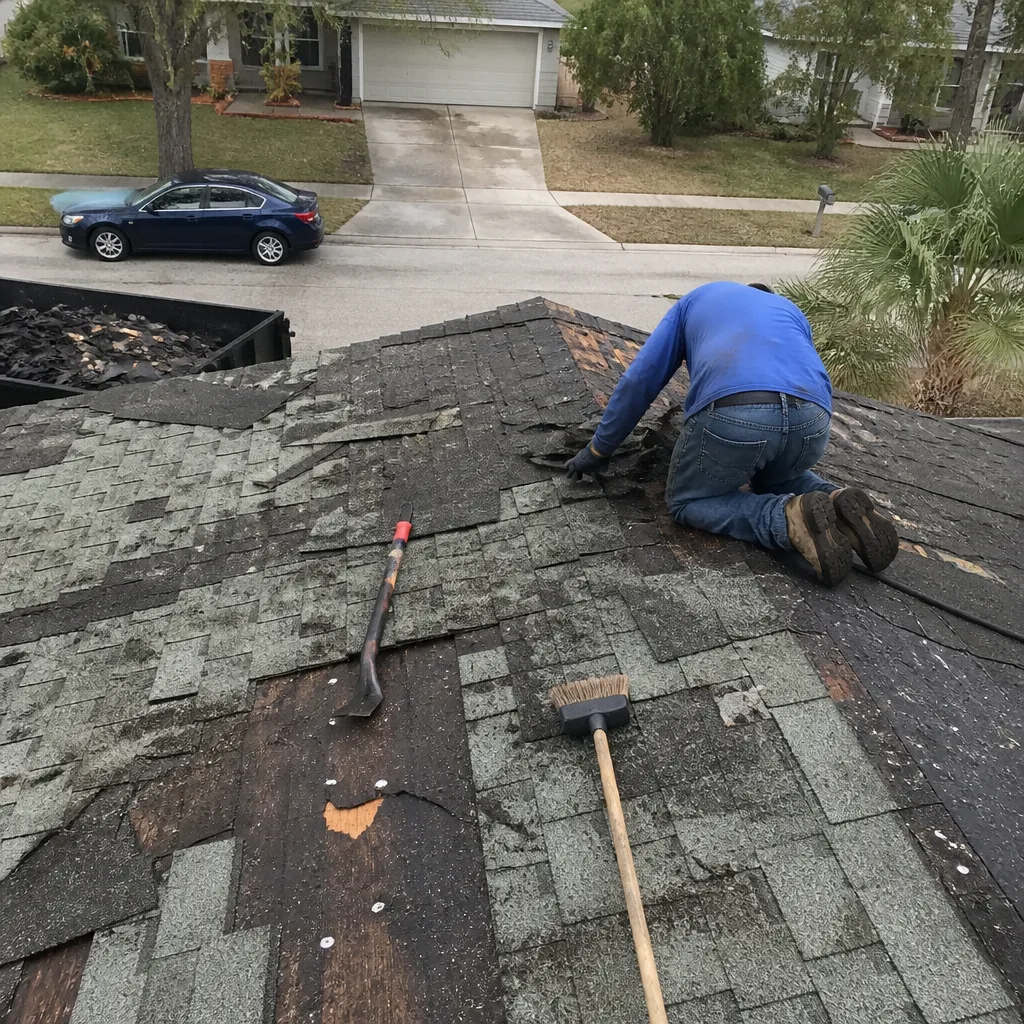 Before
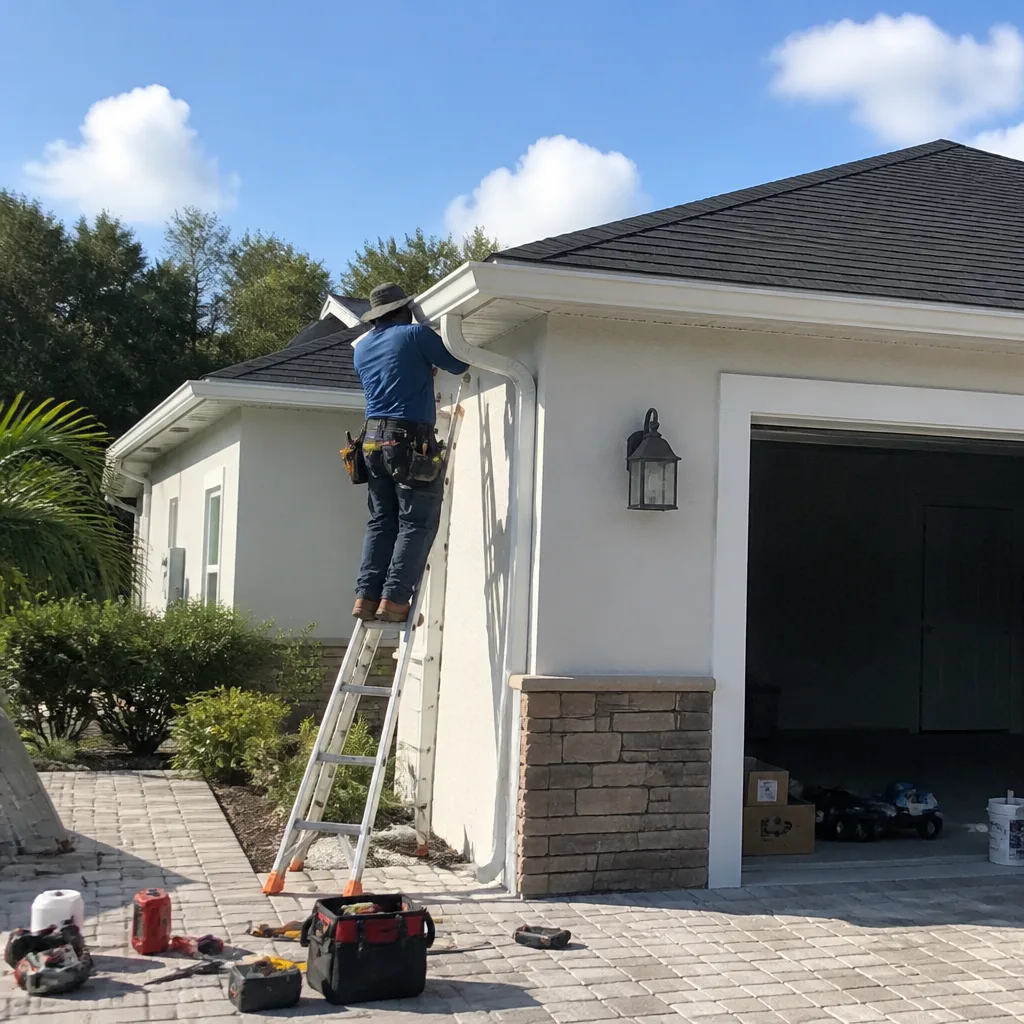 After
After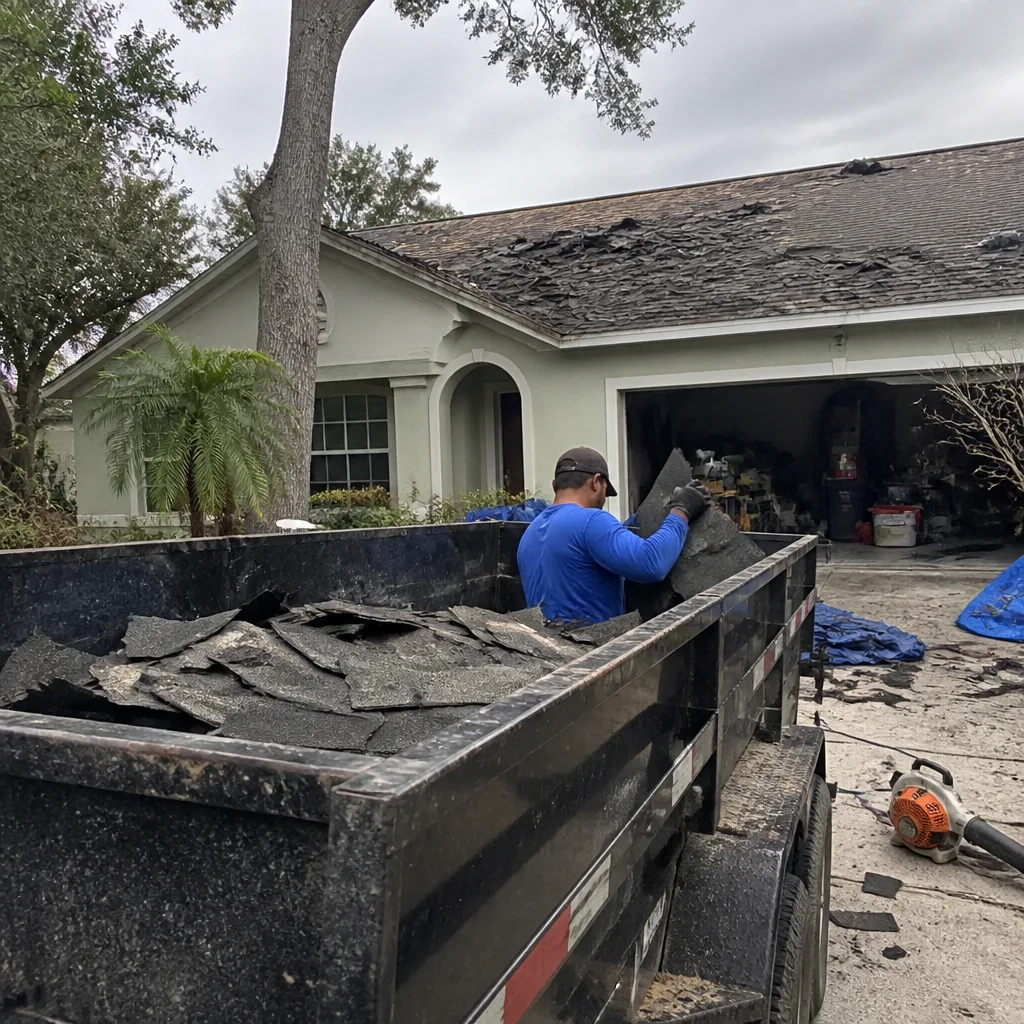 Before
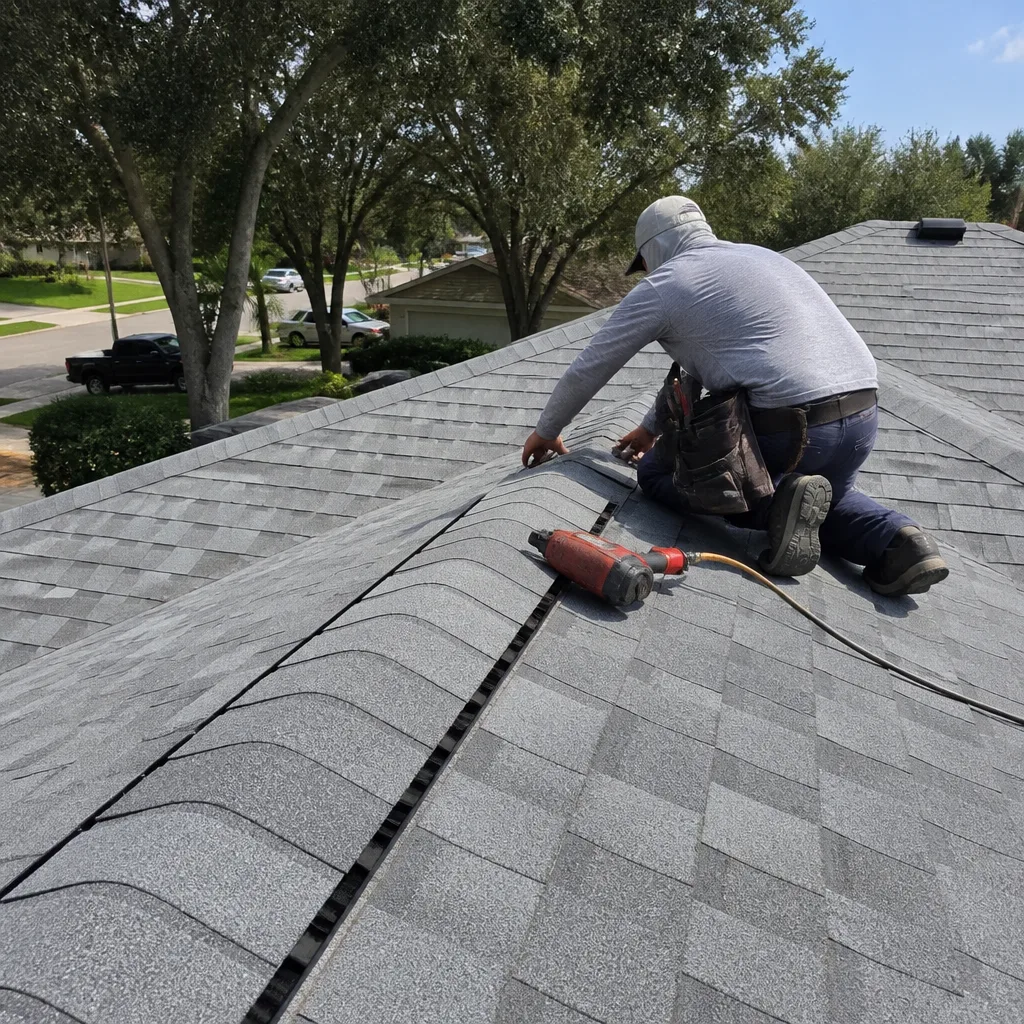 After
AfterReplacement Cost & What’s Included
What you’ll pay for Tamko flashing replacement in Tampa depends on what kind of flashing failed and how hard it is to reach. Here’s the straight dollar range we quote most weeks:
- Pipe boot replacement (plumbing vent, 1.5″ to 4″): $275 to $385 installed, including cutting back shingles, removing the old boot, and installing a new one with proper sealing.
- Step flashing replacement along a wall or chimney (4 to 10 linear feet): $340 to $520 installed, including counterflashing where needed and re-bedding in sealant.
- Valley flashing replacement (standard open valley, up to 12 linear feet): $400 to $575 installed, including tearing back the valley edges and re-laying shingles over the new metal.
- Skylight flashing replacement (standard curb-mount): $475 to $620 installed, including pulling the surrounding shingles and matching the skylight manufacturer’s flashing kit.
Every one of those numbers is a written line-item price before any work starts. You’ll see the material cost, the labor cost, and the disposal cost as separate lines. The price you sign is the price you pay. No change orders unless we open the roof and find decking damage underneath, and if that happens, we stop, show you what we found, and get your sign-off on a new written price before we touch it. That’s the Garrison Standard we hold every job to.
All flashing replacement work is covered by the 365-Day Done Right Promise. If the flashing we install fails within one year, we come back and fix it at no charge. In writing. That’s the guarantee.
DIY or Call Us?
You can check your own flashing. Walk the property with binoculars and look at every vent, wall, and valley line. Look for rust, lifted metal, cracked sealant, or gaps. None of that requires getting on a ladder. You can also get in the attic with a flashlight and check sheathing around penetrations after a hard rain. That’s the safe, smart way for an owner to do first-stage diagnosis.
What we don’t recommend is DIY flashing repair on a sloped roof. Most Tampa roofs are 5/12 to 8/12 pitch, and the combination of heat, humidity, and footing on a shingle surface is how homeowners fall. Flashing replacement also requires lifting shingles without cracking them, which sounds simple until you’re doing it in 90 degrees on shingles that have been baking all day. A cracked shingle makes the leak worse, not better. If you find anything questionable during your inspection, call us at (850) 750-9193 and we’ll give you an honest read before we quote anything.
We’ve been on enough Tampa roofs to know what’s failing and what’s fine. Travis Oakley walks every flashing job twice before he signs off, because he’s the one putting his word on it. If it’s not squared away, we’re not done.
FAQs
In Tampa, galvanized flashing typically lasts 12 to 18 years, while aluminum and copper flashing last longer but cost significantly more. The lifespan depends on the flashing’s exposure, the sealant quality, and how well the original installation was detailed. Pipe boots often fail first because the rubber collar deteriorates faster than metal.
Small sealant cracks can sometimes be re-sealed as a temporary fix, but patching failed flashing on a Tamko roof usually buys you six months, not a solution. The metal underneath is typically rusted or fatigued, and re-sealing over damage just pushes water somewhere else. For anything beyond a hairline sealant crack, replacement is the honest fix. Call (850) 750-9193 for a straight answer on your specific situation.
Most single-point flashing replacements take 60 to 90 minutes on the roof, and we’re on-site about two hours total including setup, safety, and cleanup. A multi-point job like a chimney and two pipe boots together usually runs a half day. We’ll give you a time window before we start, and our background-checked, uniformed technicians show up inside that window.
We stock standard Tamko-compatible flashing profiles including pipe boots, step flashing, and valley metal on our trucks. Specialty profiles like skylight kits or custom chimney pans may require a trip to our supplier, and we’ll tell you that up front with a firm timeline. We also stock flashing components compatible with GAF, Owens Corning, and CertainTeed systems, so mixed-brand roofs aren’t a problem.
Look at the flashing metal’s edge quality and gauge. Original Tamko flashing is typically 26-gauge galvanized with clean factory edges. Previous repairs often use thinner 28 or 30-gauge material with visible hand-cut edges and different fastener patterns. A roof inspection can confirm what’s original and what’s been patched over the years. Call (850) 750-9193 to schedule a look.
Written by Travis Oakley, Owner, Brennan Roofing Co Tampa at Brennan Roofing Co Tampa, serving Tampa and nearby areas.