
Last updated October 17, 2026
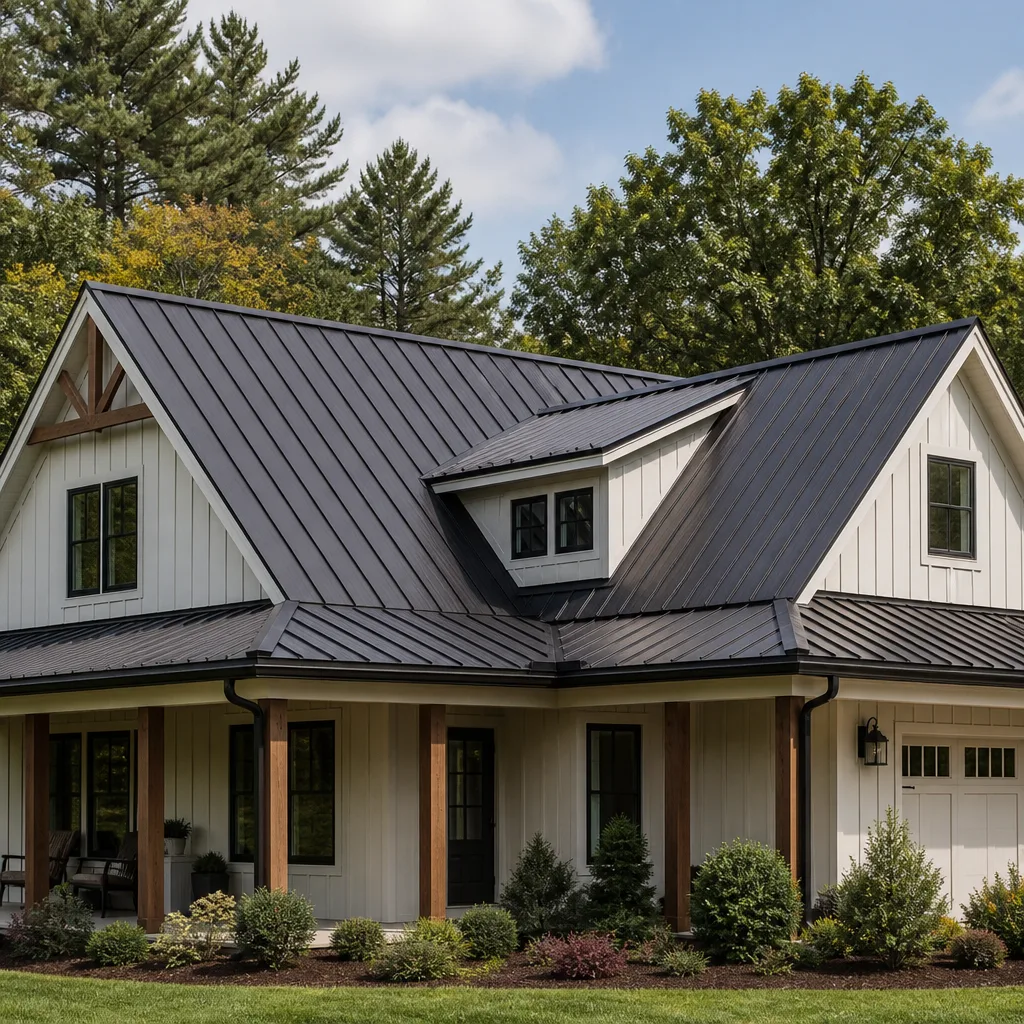 Metal roofing
 Architectural shingles
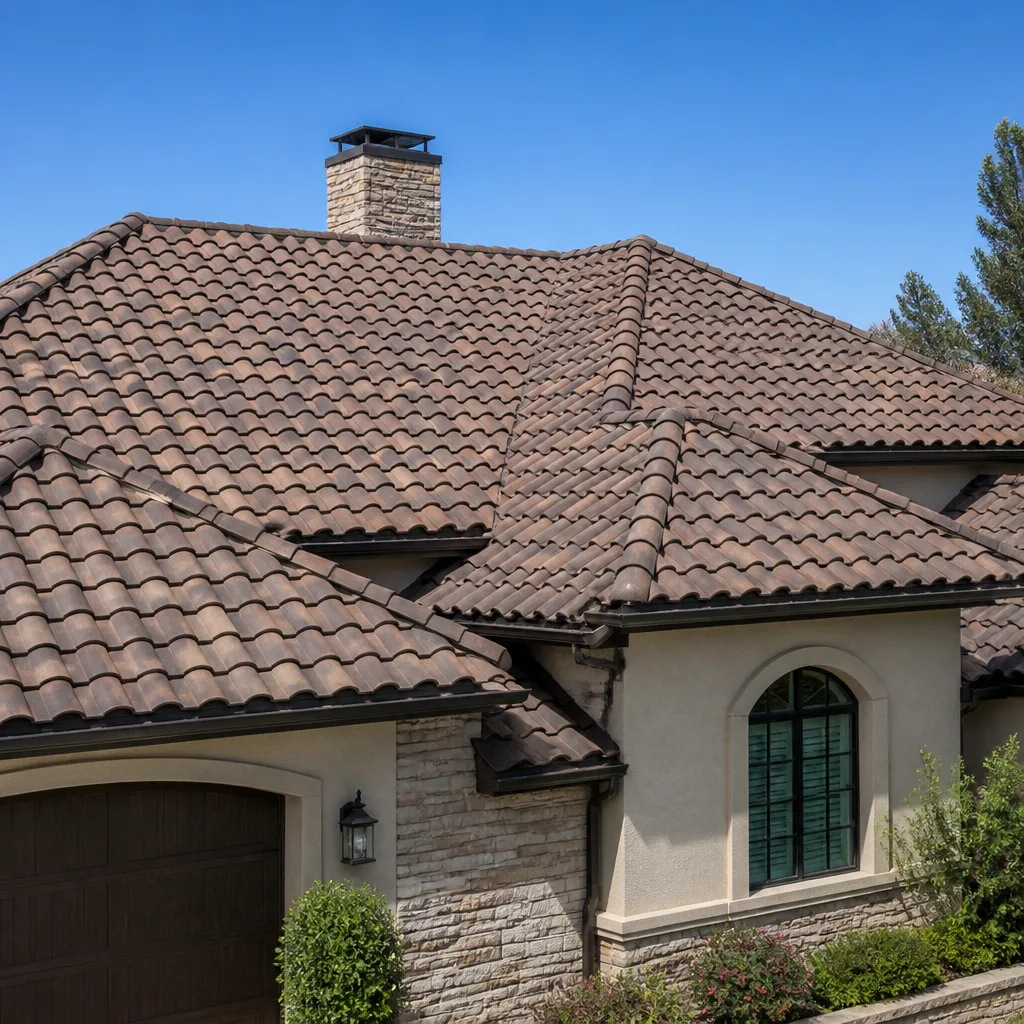 Tile roofing
 GAF
GAF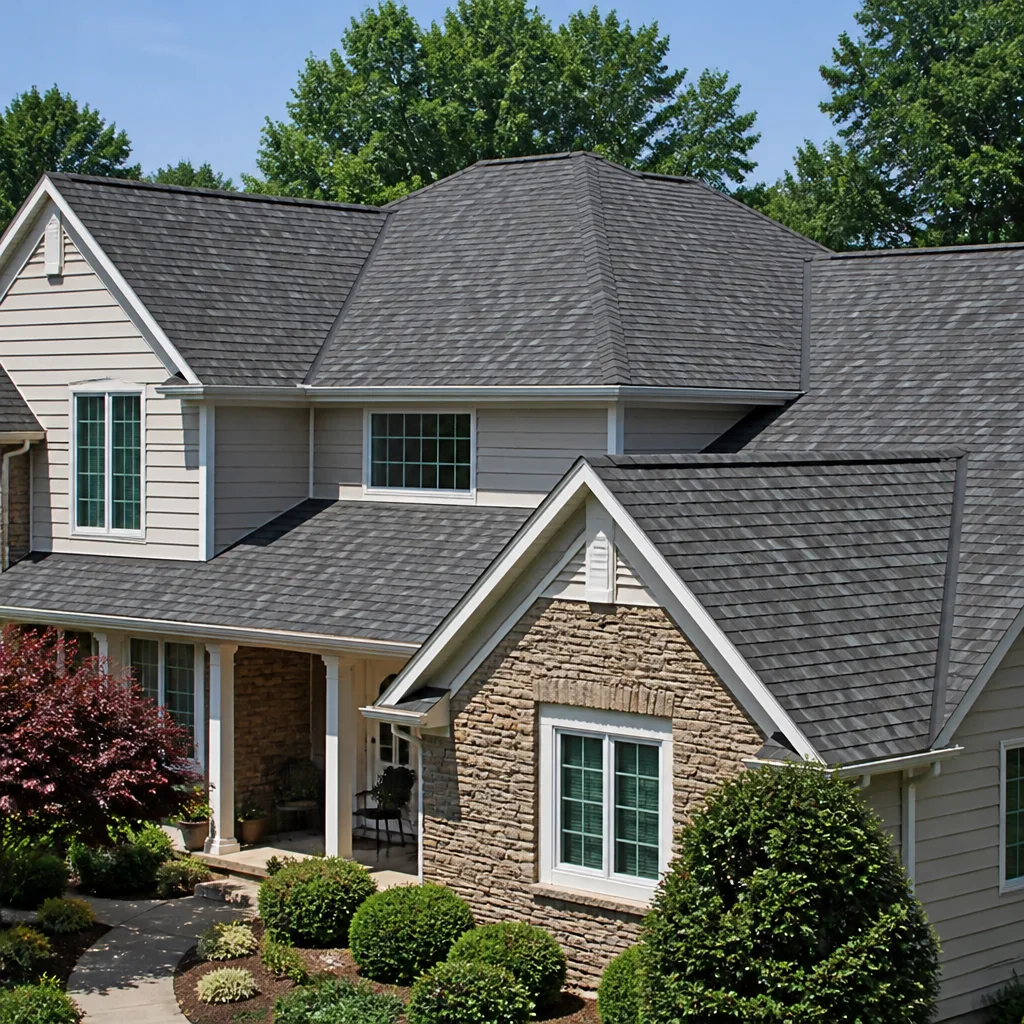 Owens Corning
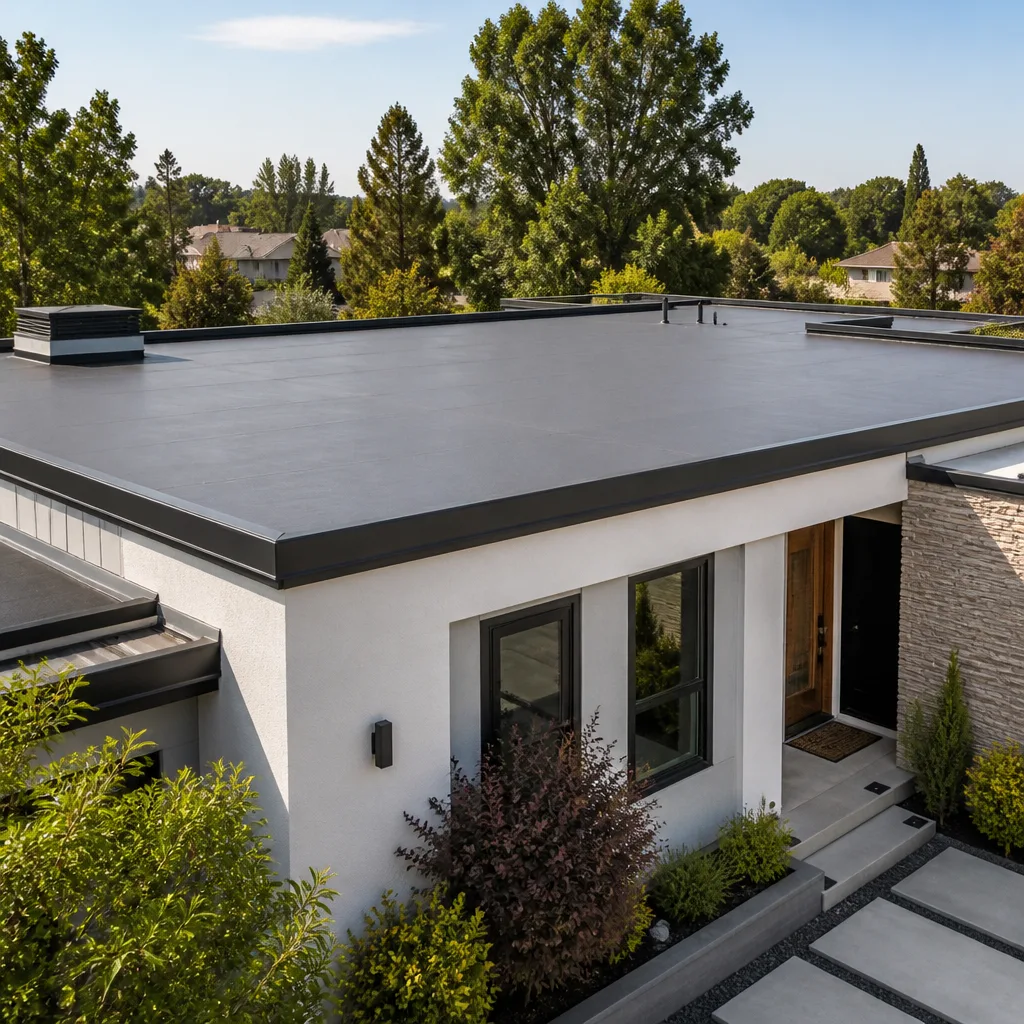 Flat & low-slope
Free roof inspection with deck photos before we talk money - GAF and Owens Corning certified installation
Roofing Company Maintenance Checklist for Tampa Homeowners
Most Tampa homeowners will never see the two things most likely to put water in their living room: a failed pipe boot flashing and a lifted ridge cap. Both are visible from the ground in under ten minutes, and both account for a disproportionate share of the roof leaks our crews get called to fix across West Tampa, Seminole Heights, and Carrollwood. The truth is, a roof rarely fails all at once here. It fails in small, predictable stages, and the Florida climate accelerates every one of them. This guide is a month-by-month maintenance checklist built specifically for Tampa homes, not a generic template written for a house in Ohio. If you do even half of what is here, you will catch most problems before they become five-figure replacements.
Styles & brands we work with
Quick Answer
A proper roofing maintenance checklist for Tampa homeowners focuses on four seasonal jobs: dry-season inspection and repair in winter and spring, pre-storm preparation in May, active monitoring during hurricane season from June through November, and post-storm damage assessment throughout. For homeowners who prefer to leave this work to Roofing Company services, professional crews handle these same tasks with documented photo records. The highest-impact tasks are checking pipe boot flashings, ridge cap integrity, valley flashing, algae growth on shaded slopes, and soffit ventilation, with a documented photo record before and after any named storm. Most of this can be done safely from the ground in under an hour per month.
Table of Contents
- Why Tampa Roofs Fail Differently Than the Rest of the Country
- The Month-by-Month Maintenance Schedule for Tampa Homes
- The Ground-Level Inspection Checklist: What You Can Safely See
- When You Need a Ladder (and When You Don’t)
- Documenting Your Roof for Insurance Claims
- Maintenance That Protects Your Manufacturer’s Warranty
- Common Mistakes to Avoid
- When to Call a Professional
- Frequently Asked Questions
- The Bottom Line
Why Tampa Roofs Fail Differently Than the Rest of the Country
A roof in Minneapolis fails from ice dams and freeze-thaw cycles. A roof in Phoenix fails from UV degradation and thermal shock. A roof in Tampa fails from a combination of four things that no other market deals with at the same intensity: sustained heat, humidity-driven organic growth, wind-driven rain from rotating storm systems, and salt-laden air if you are within a few miles of the bay. Each one attacks a different component, and together they cut the functional life of an asphalt shingle roof by anywhere from 3 to 7 years compared to the national average.
Heat is the one people underestimate most. An attic in a South Tampa home can reach 140 degrees Fahrenheit on an August afternoon. That heat radiates upward through the decking and cooks the underside of the shingles. Asphalt shingles are designed to flex as they expand and contract with temperature swings, but sustained heat cycles degrade the adhesive strips that bond shingles together. When those strips fail, the shingles lift. A lifted shingle becomes a catch point for wind, and wind-driven rain gets under the lifting edge and finds the nail holes. This is the mechanism behind most wind-damage claims in Tampa.
Humidity brings algae. The blue-green algae that leaves black streaks on roofs is called Gloeocapsa magma, and it feeds on the limestone filler in asphalt shingles. It grows fastest on north-facing and east-facing slopes that stay shaded longer after rain. In Tampa, that black streaking is not just cosmetic. Over time, algae holds moisture against the shingle surface, which accelerates granule loss. Granules are the UV shield. When they go, the asphalt underneath oxidizes, cracks, and begins to absorb water.
Then there is wind-driven rain. A normal afternoon thunderstorm can dump two inches of rain in an hour with gusts over 40 miles per hour. But during a tropical storm or hurricane, the rain is moving nearly horizontally. This changes how water interacts with your roof. Normally, water flows downhill and gravity takes it away. Horizontally driven rain gets pushed up under flashings, into ridge cap seams, and through tiny gaps that would never leak in a vertical rain. That is why a roof that handled every summer storm for years can leak during a tropical system.
Finally, there is the building boom. Tampa has added tens of thousands of new homes since 2015, and many older homes have had roof-mounted equipment added: solar panels, tankless water heater vents, radon mitigation stacks, and revised HVAC runs. Every penetration through the decking is a potential leak point, and every one relies on a woven or rubber boot that degrades under UV exposure. The older the roof, the more of these penetrations it has, and the higher the likelihood one of them is the source of your next leak.
The Month-by-Month Maintenance Schedule for Tampa Homes
Tampa does not have four seasons. It has two: dry season from November through April, and wet season from May through October. Maintenance should be front-loaded into the dry months, with lighter monitoring during the storm months. Here is the schedule we recommend to homeowners across Tampa.
January: Full Ground-Level Inspection and Documentation
January is the best month for a thorough roof assessment. The weather is mild, the sun angle is low, and you are months away from hurricane season. Walk the full perimeter of your home and photograph every roof slope from at least two angles. Look specifically for missing or cracked shingles, lifted edges along the ridge line, dark streaking on shaded slopes, and any debris accumulation in valleys. January is also the month to clear gutters, because oak leaves finish falling around late December in Tampa.
Roof Inspection in Tampa professionals can perform a more complete assessment at this time of year, but the homeowner-level pass should be done regardless.
February: Garage Interior Ceiling Check and Flashing Review
Most Tampa homes have attached garages with attic access or exposed decking. February is when humidity is still low, making ceiling stains and water marks easier to distinguish from old damage. Look for dark rings, bubbling paint, or white mineral deposits on garage ceilings directly below the roof. Then inspect the flashing points you can see: around plumbing vent pipes, the chimney if you have one, and the valleys where two roof planes meet. A pipe boot that is cracked, split, or pulling away from the pipe should be replaced before the rainy season.
March: Attic Ventilation and Insulation Check
Heat and moisture destroy roofs from the inside. March is the month to check that your attic ventilation is working. Go into the attic in the morning before the sun heats the roof. Check that soffit vents are clear of insulation, that ridge vents are not blocked, and that any powered ventilators spin freely. In Tampa’s climate, a poorly ventilated attic can shorten shingle life by up to 30 percent. Look for evidence of condensation on the underside of the decking, which indicates a ventilation imbalance. This is also when you should check for daylight through the roof deck while the attic is dark; if you can see light, water can get through the same gap.
April: Trim Overhanging Branches and Check Valleys
Late April is the last reliably dry month before the daily thunderstorms start. Overhanging tree branches scrape shingles, deposit organic debris that feeds algae, and become projectiles during tropical-force winds. Trim any branch within 6 feet of the roof surface. Then check roof valleys, the V-shaped channels where two roof planes meet. Valley flashing carries a huge volume of water during storms. Debris accumulation in valleys blocks drainage and forces water to back up under the shingle courses. If you have oak or cypress trees near your home, this is a critical task.
May: Pre-Season Storm Preparation
By May 15, your roof should be ready for hurricane season. This means completing any pending repairs identified in the winter months, clearing all gutters and downspouts, and photographing the entire roof surface in documented condition. These photographs serve as your baseline evidence if a storm damages the roof later in the year. May is also the time to check that all roof-mounted equipment is secure and that satellite dishes, antennae, or solar panel mounts have no loose fasteners.
June through September: Active Storm Monitoring
During the active season, the maintenance job changes from prevention to monitoring. After every significant weather event, defined as anything with gusts over 45 miles per hour or sustained heavy rain for more than an hour, do a two-minute walk-around. Check for shingles in the yard, visible lifting along the ridge, displaced flashing, and new dark spots on the ceiling. Catching a small issue before the next storm is the difference between a $300 repair and a $3,000 one.
October: Post-Season Damage Assessment
October is the true repair month in Tampa. The summer storms have had their run, and any damage is now visible. Review your May photographs against current conditions. If anything has moved, cracked, lifted, or disappeared, document it and schedule repairs before the spring rains. October is also when you check for granules in gutters; excessive granule accumulation in downspouts indicates significant shingle wear. If your downspout splash blocks look like they have collected black sand all summer, the shingles are shedding their protective layer faster than they should.
November: Gutter Cleaning, Flashing Check, and Debris Removal
November is the second gutter clearing of the year, focused on removing the summer’s leaf litter and seed pods before it decomposes into a mat that blocks drainage. It is also the month to re-check all flashing and pipe boots one more time before winter’s afternoon storms arrive. Homes along Bayshore Boulevard and in Beach Park should add a check for salt-related fastener corrosion at least once in November, since salt-laden air accelerates rust on exposed metal roof components.
The Ground-Level Inspection Checklist: What You Can Safely See
The majority of roof problems are visible from the ground if you know what you are looking at. This is the list we recommend every Tampa homeowner work through at least twice a year, once in January and once in October.
Step 1: Look at the ridge line first. The ridge cap is the row of shingles that covers the peak where two roof planes meet. If your ridge cap looks wavy, uneven, or you can see gaps between shingles along the peak, that is a problem. A lifted ridge cap allows wind-driven rain to enter the attic. This is one of the top two leak sources we repair in Tampa.
Step 2: Check the pipe boots. These are the rubber or synthetic collars around plumbing vent pipes protruding through the roof. From the ground, look for cracks, splits, or a boot that has separated from the pipe. Pipe boot flashings typically fail after 8 to 12 years in Florida sun, meaning a roof can have perfectly good shingles and still leak through a $15 boot.
Step 3: Scan the valleys. Valleys should be free of debris and appear as a clean, continuous channel. If you see curled shingle edges along a valley or metal flashing that is pulling up, water is not draining cleanly.
Step 4: Look for lifted shingles. Walk the perimeter and look at your roof line from several angles. The low sun angle in early morning or late afternoon casts shadows that expose lifted shingles. Focus on edges, corners, and areas around penetrations.
Step 5: Identify the algae zones. The black streaking on your roof is algae, and it will be worst on north-facing and east-facing slopes. Take note of how far the streaking has spread since your last inspection. Algae spread indicates sustained moisture, which affects granule retention.
Step 6: Examine fascia, soffit, and drip edge. The drip edge is a metal flange that directs water away from the fascia board at the roof’s edge. If you see rotted wood, peeling paint, or water stains on the fascia, water is not being shed properly. Soffit vents should be open and unpainted; clogged soffit vents reduce attic ventilation.
Step 7: Document with photos. Take photos of anything that looks questionable, even if it appears minor. Timestamped photos of your roof’s condition at specific points in the year are valuable baseline documentation for insurance claims and warranty enforcement.
When You Need a Ladder (and When You Don’t)
We get asked all the time whether homeowners should climb onto their roofs. The honest answer is no, and not because it protects our business. A roof is a workplace, not a patio. Falls from single-story homes account for thousands of serious injuries every year, and most happen to people who are “just taking a quick look.” What you can safely do from a ladder is check your gutters, examine fascia, and view the roof edge at close range. That is it.
What requires professional access: lifting shingles to inspect the underlayment, repairing flashing around a chimney, replacing a pipe boot, resealing a valley, or checking the ridge cap from above. These rules are shaped by Roofing Permits, Codes & Inspections in FL: What You Need to Know, which governs when licensed work is required. These tasks require walking on the roof surface, which means roof-appropriate footwear, tie-off discipline when the pitch demands it, and experience moving on different roof materials without causing additional damage. A homeowner walking on an asphalt shingle roof in the Florida heat can cause more granule loss in twenty minutes than a year of weather does.
We have a simple test for whether something needs a pro: if checking it or fixing it requires your feet to leave the ladder rungs, it is professional work. The exception to this is photographing the roof surface from an upper-story window, which is safe and gives you a roof-level view without stepping onto the decking. Use a cell phone camera with a digital zoom from a second-story window to capture ridge cap detail and valley flashing condition.
Documenting Your Roof for Insurance Claims
Florida insurance carriers scrutinize roof claims more aggressively than carriers in any other state. Your ability to prove that damage happened on a specific date, rather than accumulating over years of deferred maintenance, can be the deciding factor in a claim approval. Here is the documentation method we recommend to every homeowner in Tampa.
- Create a baseline. Photograph your entire roof in clear daylight. Take wide shots of every slope, close shots of flashing points, pipe boots, ridge cap, valleys, and the drip edge. Store them in a folder labeled with the date.
- Re-photograph after every named storm or severe thunderstorm. Compare the new photos against the baseline. Look for anything that has moved, cracked, or disappeared.
- Date-stamp every photo. Digital photo metadata is usually sufficient, but visible timestamps are better. Use a photo app that burns the date into the image file.
- Log your maintenance. Keep a one-page log of gutter cleanings, inspections, and repairs with dates and a short description. Carriers look favorably on documented maintenance history when processing a claim.
- Do not do major repairs before filing a claim. If you suspect storm damage, document it first, file the claim, and let the adjuster evaluate the roof in its damaged state. This is not dishonest; it is how the process is designed to work. You are entitled to have the damage documented in its original condition.
- Keep copies of everything. The adjuster report, the repair invoice, before-and-after photos, and the final scope of work. Tampa homeowners who keep complete records recover more of their claim value than those who do not.
One more thing worth saying directly: if a storm causes ceiling leaks, document the interior damage too. Photos of wet drywall, stained ceilings, and damaged personal property support the loss total. Do not throw anything away until the adjuster has seen it.
Maintenance That Protects Your Manufacturer’s Warranty
Most homeowners think the manufacturer’s warranty on shingles is unconditional. It is not. The warranties from leading manufacturers, including CertainTeed, Owens Corning, and Atlas, contain maintenance requirements and exclusions that many Tampa homeowners violate without knowing it. Here is what matters.
First, algae staining is not covered under almost any standard shingle warranty unless the shingles were purchased with a specific algae-resistant designation. If your roof has significant black streaking and you have not taken steps to address it, future granule loss or shingle degradation related to organic growth can be classified as a maintenance failure rather than a manufacturing defect.
Second, installing anything on top of the shingles after the roof is complete can void portions of the warranty. Solar panel racking, antenna brackets, and satellite dish mounts that pierce the roofing system create penetration points that the manufacturer did not install and will not cover. If you are adding roof-mounted equipment to a warrantied roof, confirm with the shingle manufacturer before work begins.
Third, some warranty claims are denied because homeowners cannot produce evidence of regular maintenance. Keeping the January and October photo documentation described above, along with repair invoices and inspection reports, demonstrates that the homeowner met the reasonable maintenance standard. Without records, the manufacturer’s position is that the failure resulted from neglect.
Fourth, pressure washing a shingle roof voids the warranty on almost every major shingle line. Pressure washing strips granules, damages the fiberglass mat, and accelerates the exact failure the warranty is designed to prevent. If algae removal is needed, it should be done through chemical treatment, not blasting. This is one of the most common warranty-killing mistakes we see in Tampa.
When we install a roof for a Tampa homeowner, we review the specific warranty terms for the shingle line the homeowner selects. Some manufacturers, including Owens Corning and Atlas, offer enhanced warranty coverage when the entire roofing system, including underlayment and ventilation components, is installed together by a certified contractor. Homeowners who want the strongest warranty should ask about system-level coverage before the roof is installed, not after.
Roofing Company in Tampa teams who install full systems understand how to match underlayment, ventilation, and shingle components to qualify for the strongest available warranty.
Common Mistakes to Avoid
- Pressure washing the roof. This removes granules, strips the shingle’s protective coating, and voids the manufacturer’s warranty. Algae should be treated chemically or left alone, never blasted.
- Ignoring the pipe boots because the shingles look fine. Pipe boot flashing fails on its own timeline, often long before the shingle layer needs replacement. A $15 component causes thousands of homeowners to file ceiling-leak claims every year.
- Waiting until a storm is forecast to do maintenance. By the time a hurricane is in the Gulf, no roofer can schedule your repair. Seasonal maintenance happens in winter and spring, not June. Waiting until the storm is coming almost guarantees the leak you were worried about becomes the leak you are dealing with.
- Climbing onto the roof alone. The most common roofing injury is not from a hurricane, it is from a homeowner taking a closer look. If the task requires stepping onto the decking, call a professional.
- Adding roof-mounted equipment without reviewing warranty terms. Solar panels, antennas, and satellite mounts create penetrations that can void portions of the shingle warranty. Check with the manufacturer before installation.
- Treating algae as purely cosmetic. Organic growth holds moisture against shingles, accelerates granule loss, and shortens roof life. It is a maintenance problem, not just an appearance issue.
- Filing an insurance claim without photos. A documented photo history is the difference between a settled claim and a denied one. If you have no baseline documentation, start today.
When to Call a Professional
Some roof issues are visible but not diagnosable from the ground. A dark spot on a shingle could be algae or water saturation. A lifted edge could be cosmetic or structural. If you see ceiling stains, water in the attic, missing shingles after a storm, or granules accumulating in gutters, a professional should evaluate it. A water intrusion point is rarely directly above the stain; water travels along rafters and decking seams before it drips. Finding the actual entry point requires roof-level access and experience.
Brennan Roofing Co Tampa offers free estimates in Tampa. Call (850) 750-9193 and we will tell you what we find, what it costs in writing before any work starts, and what can wait. No pressure, no upsell.
Frequently Asked Questions
A roof in Tampa should be inspected twice a year, once in January and once in October, with additional visual checks after any severe weather event in between. The January inspection identifies winter storm damage and dry-season repair needs, while the October inspection catches summer storm damage before the next spring rain cycle.
Most homeowner-level roof maintenance costs less than $100 per year in materials if you are doing the ground-level checks yourself. Professional inspections in Tampa typically run between $150 and $450, while minor repairs like replacing a pipe boot or resealing a flashing point run between $150 and $600 depending on roof pitch and access difficulty. Call (850) 750-9193 for an exact quote, estimates are free.
An asphalt shingle roof in Tampa typically lasts 15 to 22 years, compared to 20 to 30 years in more temperate climates, as detailed in our Roofing Cost Breakdown: The Tampa Homeowner’s Reference for 2026. The combination of sustained heat, humidity-driven algae growth, and wind-driven rain from tropical systems shortens functional life by roughly 20 to 25 percent compared to the national average.
Yes. Most of the important inspection points, including ridge cap condition, pipe boot condition, valley flashing, shingle lifting, and algae spread, are visible from ground level. For a closer look at the roof edge and gutters, a ladder is helpful but not required for a basic monthly check.
Failed pipe boot flashings and lifted ridge caps are the two most common roof leak sources in Tampa. Pipe boots fail from UV degradation after 8 to 12 years, while ridge caps lift when heat expansion breaks down the adhesive bond at the roof’s peak.
Most shingle manufacturer warranties do not require a specific contractor for routine repairs, but they do require that repairs be completed properly and that the homeowner maintain documentation. However, certain enhanced warranty programs, particularly those offered by manufacturers like Owens Corning and Atlas, require installation by a certified contractor to receive full coverage. Confirm your warranty terms before scheduling work.
No. Homeowners insurance covers sudden, accidental damage such as wind and hail, not routine maintenance. However, failing to maintain your roof can result in claim denials when damage occurs, because carriers classify the failure as preventable. Documented maintenance history protects your ability to collect on legitimate storm damage claims.
Algae is a real problem when it covers more than 20 percent of a roof slope or is concentrated on the shaded sides that stay damp longest. At that level, it is holding moisture against the shingles and accelerating granule loss. Treat it chemically or have a professional address it, but do not pressure wash it.
The Bottom Line
Roof maintenance in Tampa is a small, consistent commitment that keeps a large investment from failing early. The schedule is simple: inspect in January, prepare in May, monitor through hurricane season, and assess in October. The highest-impact checks are the ridge cap, pipe boots, valley flashing, algae zones, and soffit ventilation. Document everything with photos and timestamps, keep a maintenance log, and know what your warranty requires. Most important, understand the limits of what you can safely do from the ground, and let a professional handle the rest. Your roof is the single largest protective barrier between your family and the Florida climate. Treat it like the asset it is.
If you are not sure whether your roof needs attention, call us. A Brennan Roofing Co Tampa home inspector will walk the property, tell you what we see, and put the price in writing before any work starts. Call (850) 750-9193 for your free estimate.
Written by Travis Oakley, Owner at Brennan Roofing Co Tampa, serving Tampa since 2000.
See the difference
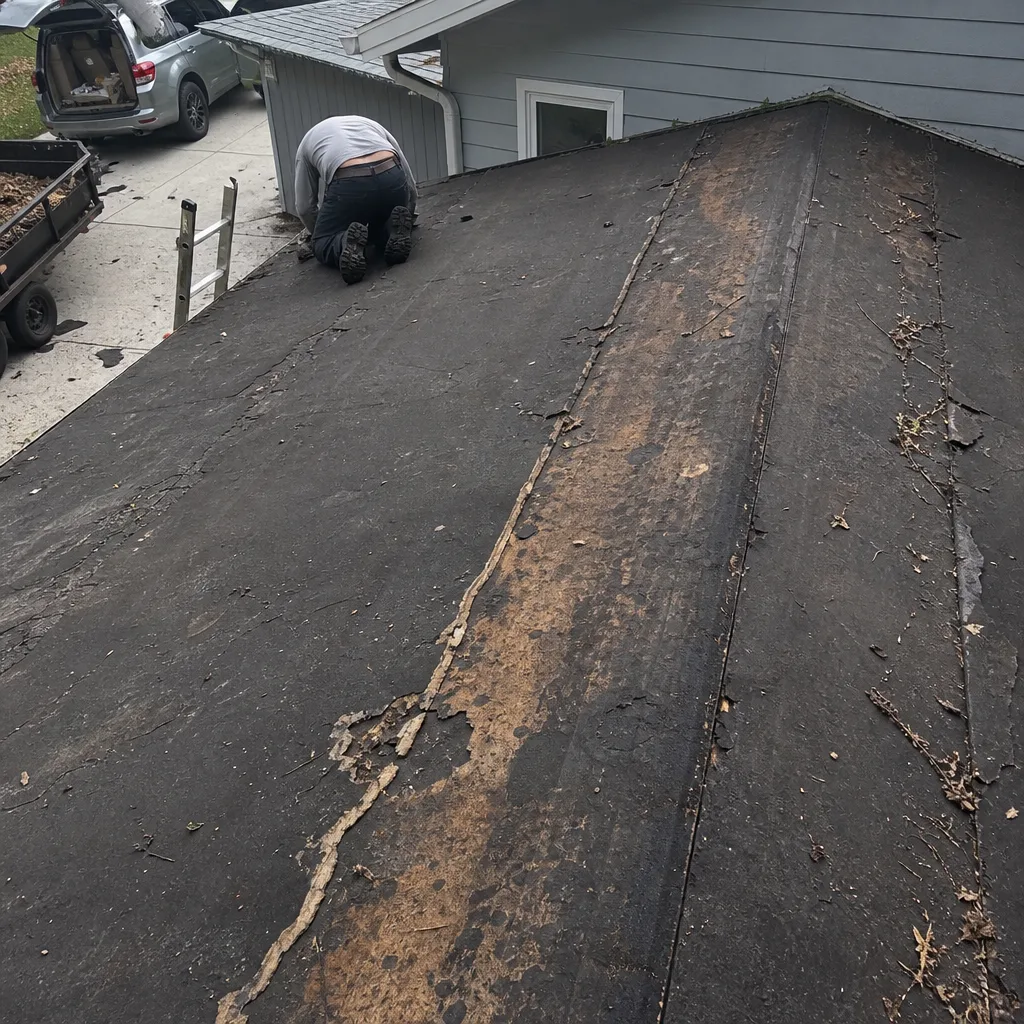 Before
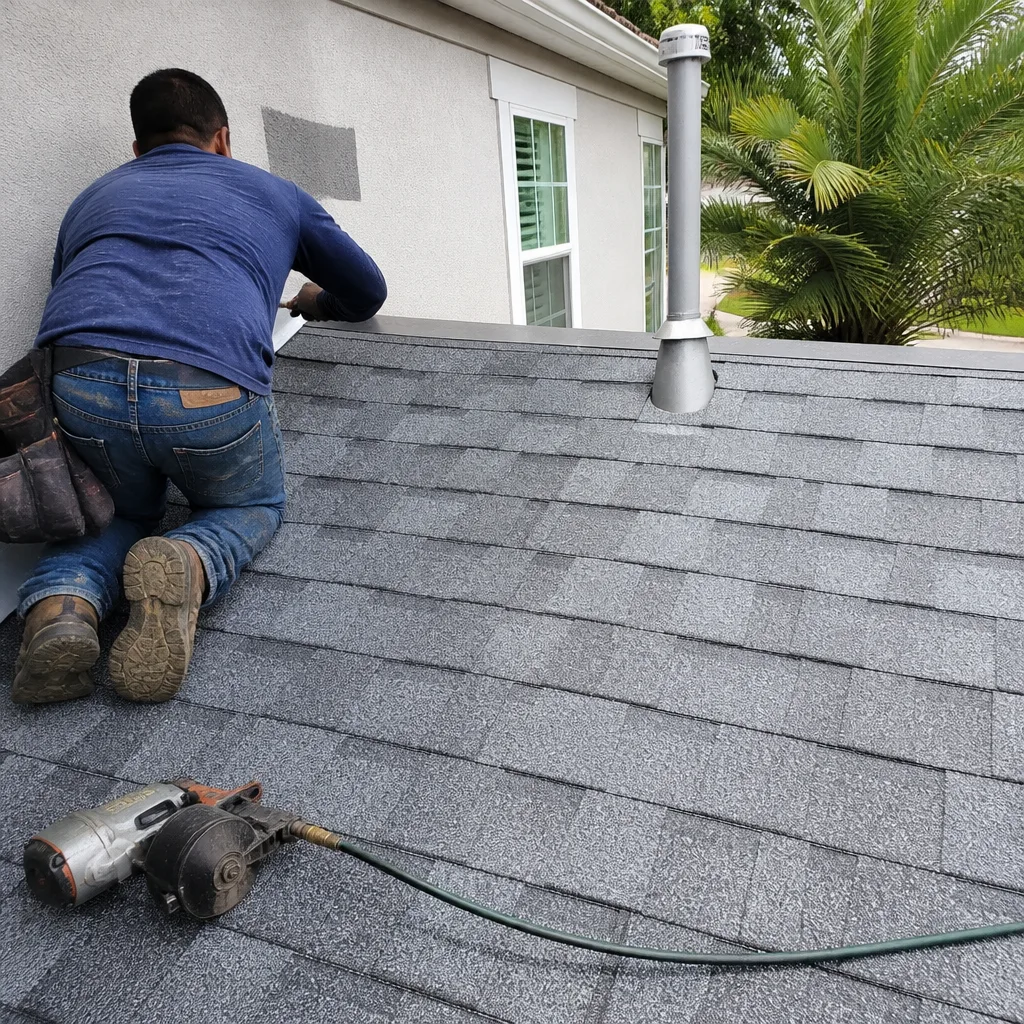 After
After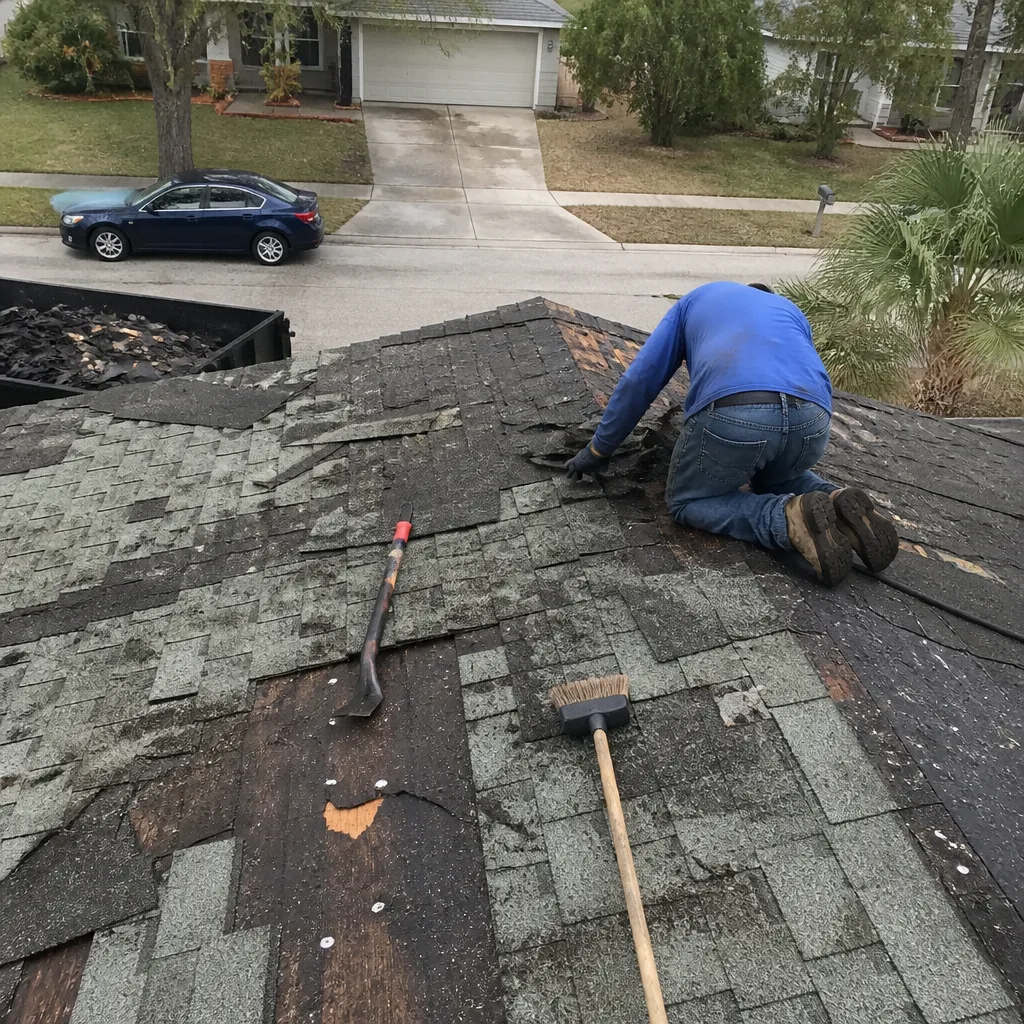 Before
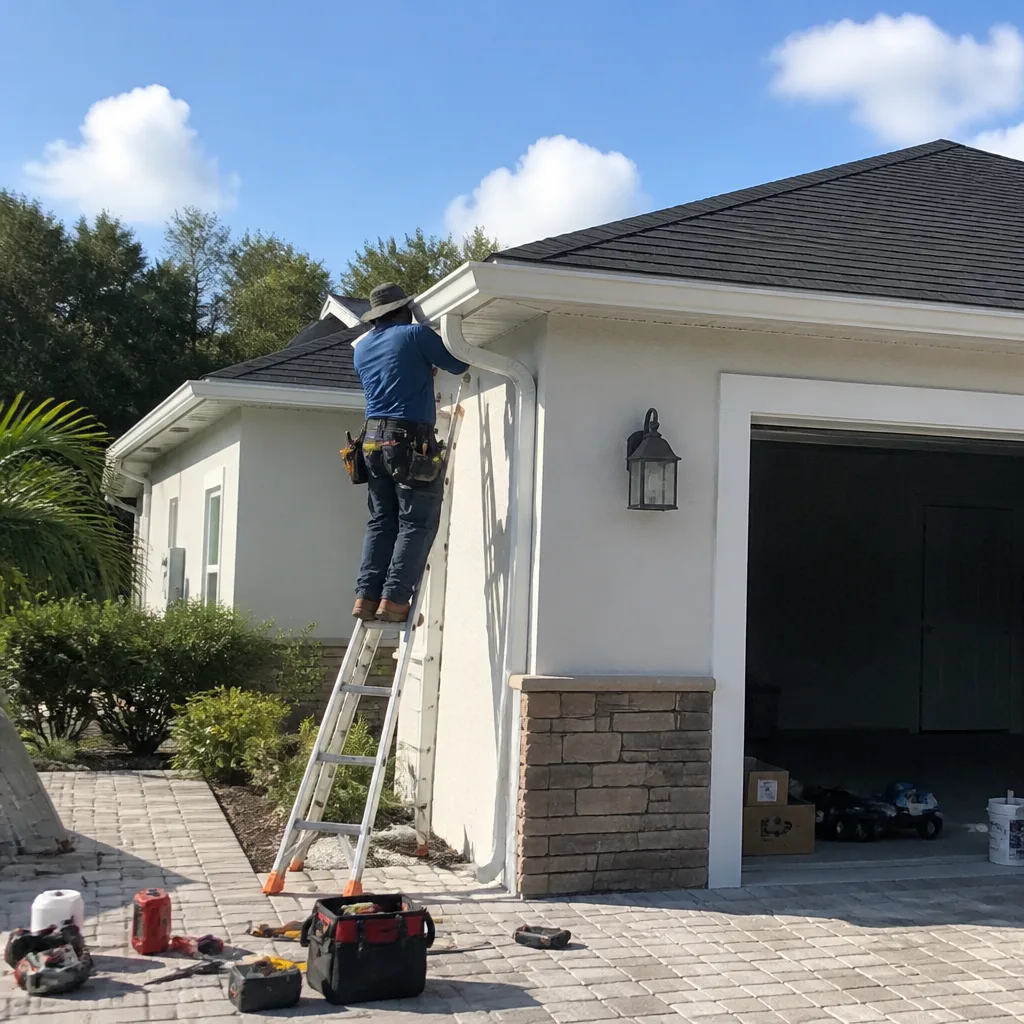 After
After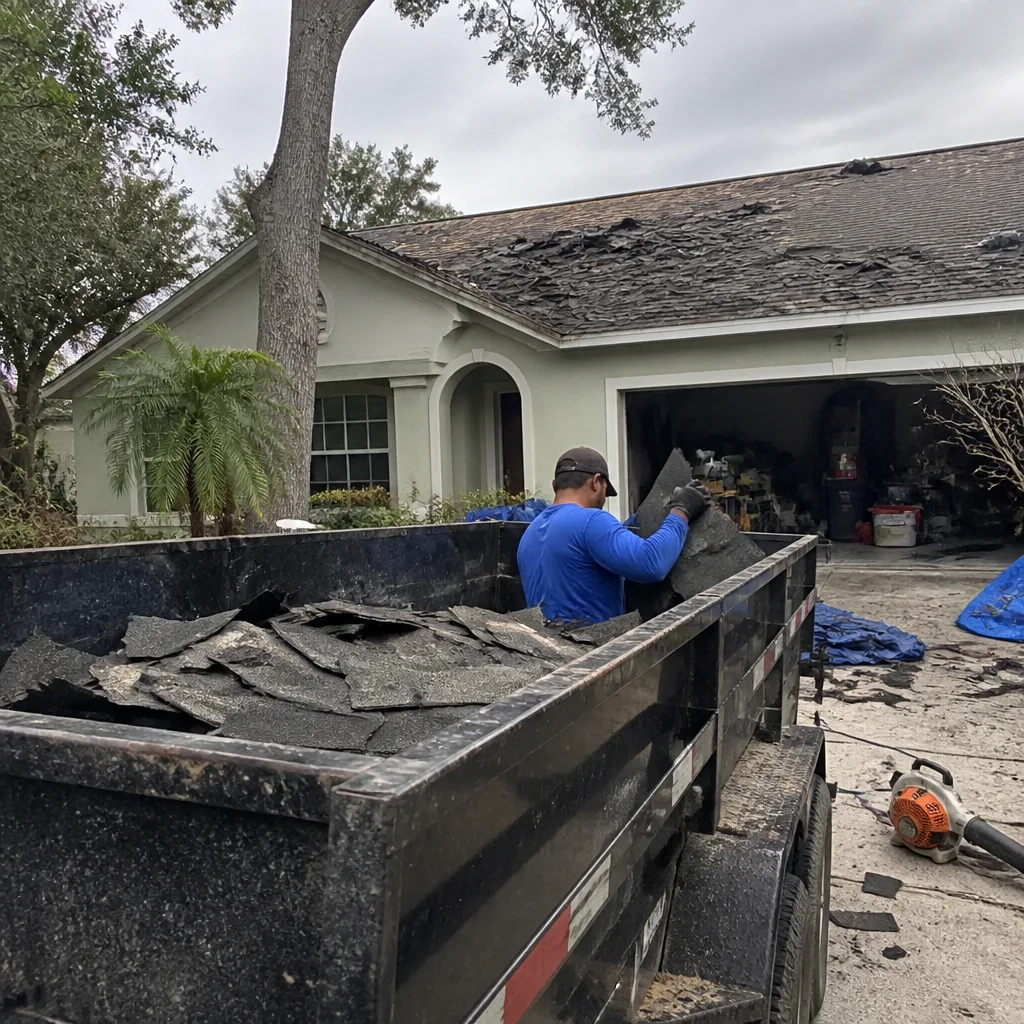 Before
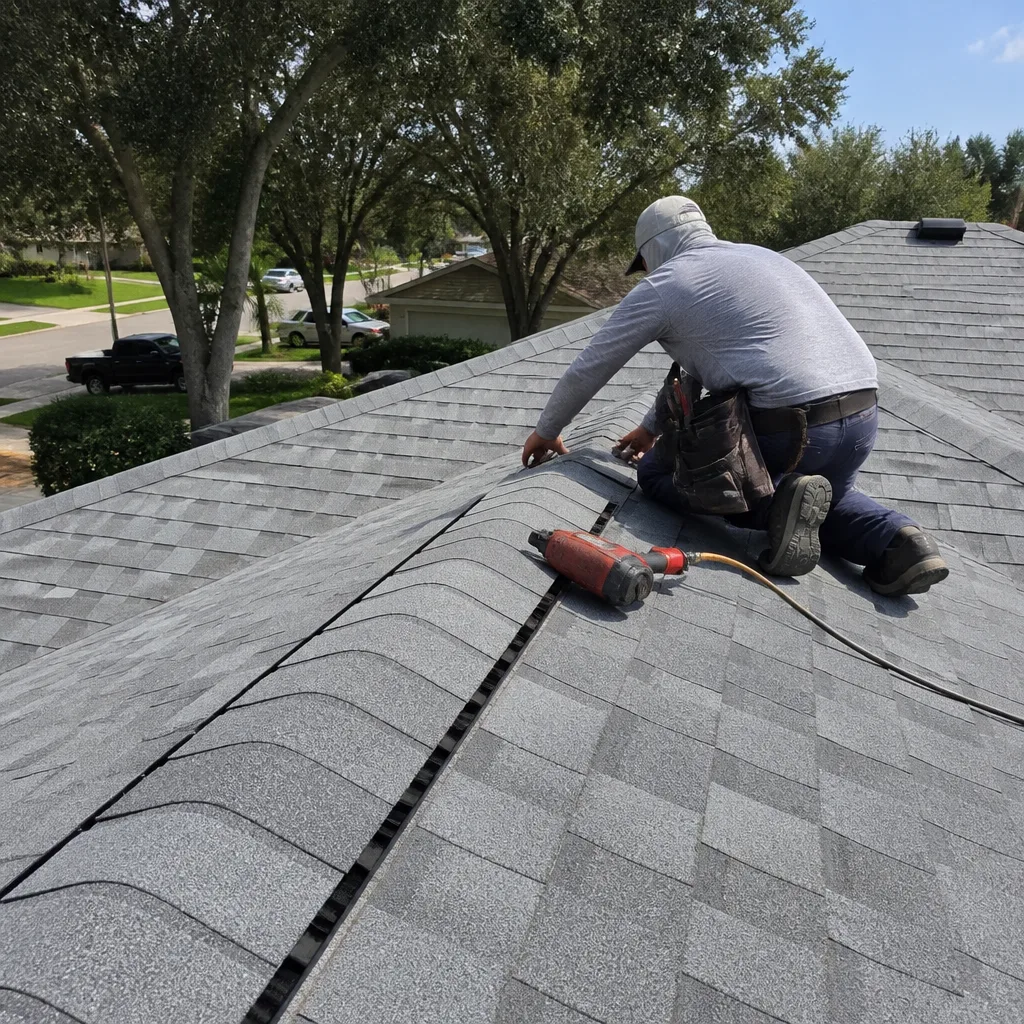 After
After